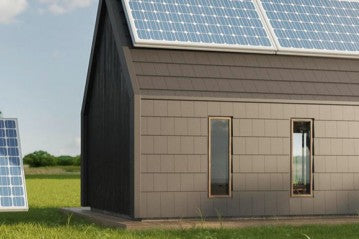
A solar power system consists of several components, including solar panels, a solar charge controller, and an inverter. The solar charge controller regulates the flow of electricity from the solar panels to the battery bank, while the inverter converts the direct current (DC) from the battery bank into alternating current (AC) for use in household appliances. In this blog post, we will explore the steps involved in connecting a solar charge controller with an inverter, testing and troubleshooting, and the importance of proper maintenance.
Connecting Solar Charge Controller with Inverter
Connecting a solar charge controller with an inverter requires several steps and careful attention to detail. Here's a step-by-step guide to help you through the process:
Step 1: Determine the type of inverter you have. There are two types of inverters: pure sine wave and modified sine wave. Pure sine wave is the most common and provides a cleaner power output, while modified sine wave is less expensive but can cause issues with some appliances.
Step 2: Determine the appropriate connections for your inverter. The connections will vary depending on the type of inverter you have, so consult the manufacturer's instructions for specific details.
Step 3: Connect the solar charge controller to the battery bank. The solar charge controller should be connected to the battery bank before connecting it to the inverter.
Step 4: Connect the inverter to the battery bank. Use the appropriate cables and follow the manufacturer's instructions for connecting the inverter to the battery bank.
Step 5: Connect the solar charge controller to the inverter. Use the appropriate cables and follow the manufacturer's instructions for connecting the solar charge controller to the inverter.
Step 6: Turn on the inverter and test the connection. Once everything is connected, turn on the inverter and test the connection to ensure it's working properly.
Testing and Troubleshooting
After connecting the solar charge controller with the inverter, it's important to test the connection and troubleshoot any issues.
To test the connection, turn on the inverter and check the voltage output and frequency. The voltage output should be within the range specified by the manufacturer, and the frequency should be 60Hz for most household appliances.
If there are issues with the connection, such as no power output or unstable voltage, there are several troubleshooting steps you can take. Check the connections to ensure they are tight and secure, check the wiring for any damage or wear and tear, and consult the manufacturer's instructions for specific troubleshooting tips.
Importance of Proper Maintenance
Proper maintenance is crucial for the optimal performance and longevity of a solar power system. Regularly check the connections and wiring for any damage or wear and tear, and replace any damaged components as necessary. Clean the solar panels regularly to ensure maximum efficiency and check the battery bank for proper charging and discharging.
Following these maintenance tips will help ensure that your solar power system operates at its best and provides you with significant benefits for years to come.
Conclusion
Connecting a solar charge controller with an inverter is an important step in setting up a solar power system. Following the manufacturer's instructions and safety precautions is crucial to ensure proper connection and optimal performance. If you're unsure about the appropriate connection for your specific solar power system, consult with a professional solar installer or engineer for advice. By following these guidelines, you can enjoy the benefits of a clean and sustainable source of energy for your home or business.

0 comments