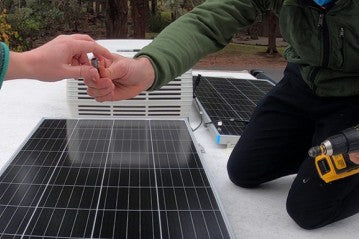
If you're looking to get started with a solar power system, one of the most important components to consider is a solar charge controller. A solar charge controller helps regulate the flow of electricity from your solar panels to your battery, ensuring that your battery is charged safely and efficiently. In this blog post, we'll guide you through the process of setting up a basic solar charge controller.
1. Choosing and Installing the Solar Charge Controller
The first step in setting up a solar charge controller is selecting the right type for your system. There are two main types of solar charge controllers: PWM and MPPT. PWM (Pulse Width Modulation) controllers are simpler and less expensive, but less efficient than MPPT (Maximum Power Point Tracking) controllers, which use advanced algorithms to maximize energy capture from your solar panels. MPPT controllers are more expensive, but are typically worth the investment for larger systems.
Once you've chosen the right type of solar charge controller, the next step is physically installing it. Here are the basic steps:
(1) Choose a mounting location: Your solar charge controller should be installed indoors or in a weatherproof enclosure. Choose a location that is close to your battery and convenient for wiring. The controller should be mounted on a sturdy surface, using screws or other appropriate mounting hardware.

(2) Connect the battery: The controller will identify the battery voltage when powering on, connect the battery first when using, and ensure a reliable connection. Connect your battery to the charge controller using appropriate wiring. Be sure to match the polarity of the wires correctly.
(3) Connect the solar panels: Then can the solar panel be connected. Connect your solar panels to the charge controller using appropriate wiring. Be sure to match the polarity of the wires correctly.
(4) Connect any load: the load can be connected last, so as to avoid damage to the controller due to excessive input current of the solar panel when the solar panel is connected first.
(5) Double-check all connections: Before turning on your solar power system, double-check all connections to ensure they are secure and correctly wired.
2. Programming and Monitoring the Solar Charge Controller
Once your solar charge controller is installed, the next step is programming it for optimal performance. Most basic solar charge controllers have a few key programming options:
(1) Battery type: Set the charge controller to the type of battery you are using (e.g. lead-acid, lithium-ion). This ensures that the controller is charging the battery correctly.
(2) Charging voltage: Set the charging voltage to the appropriate level for your battery. This will prevent overcharging or undercharging, which can damage your battery.
(3) Load control: If you have a load connected to your solar power system, set the load control to the appropriate level to prevent overloading the battery.
(4) Other settings: Depending on your specific solar charge controller, there may be other settings to adjust, such as temperature compensation.
3. Conclusion
Setting up a basic solar charge controller is an essential step in creating a reliable and efficient solar power system. By choosing the right type of controller, correctly installing it, and programming and monitoring it for optimal performance, you can ensure that your battery is charged safely and efficiently. Remember to always double-check your connections and refer to the manufacturer's instructions for specific guidance. With the right setup, you can enjoy the benefits of renewable solar energy for years to come.

0 comments