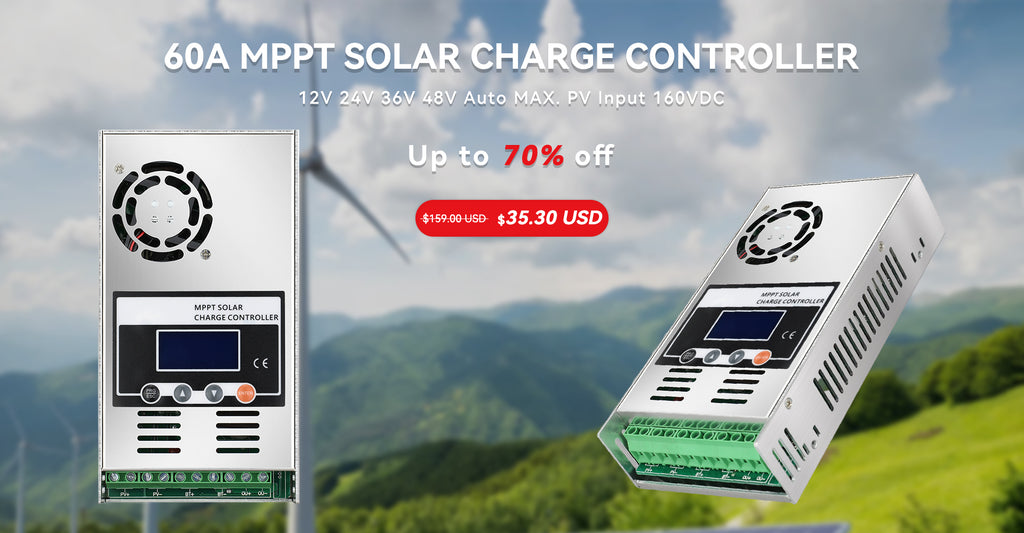
Greetings, fellow adventurers of the open road! Are you ready to harness the power of the sun to fuel your RV adventures? Solar energy is revolutionizing the way we travel, providing a greener and more sustainable way to power our nomadic lifestyle. One critical component in this solar setup is the solar charge controller, and in this guide, we'll shed light on how to properly size one for your RV. So buckle up, and let's dive into the world of solar charge controllers!
Understanding Solar Charge Controllers
Before we get into the nitty-gritty of sizing, let's get acquainted with our star player: the solar charge controller. This little marvel acts as the guardian of your RV's batteries, regulating the flow of energy from the solar panels to ensure a smooth and efficient charging process. There are two main types to consider: the Pulse Width Modulation (PWM) and the Maximum Power Point Tracking (MPPT) charge controllers.
The PWM controllers are ideal for smaller systems, providing a reliable and budget-friendly option. On the other hand, the MPPT controllers boast higher efficiency and are better suited for larger setups. Both have their pros and cons, so it's crucial to select the one that fits your RV's unique energy needs.
Assessing Your RV's Solar Needs
To properly size your solar charge controller, you need to have a grasp of your RV's energy requirements. Calculating your daily energy consumption is the first step – take note of all the appliances and devices you intend to power. Remember, an energy-efficient LED lighting system can make a world of difference!
Next up, estimate the solar panel capacity you'll need to generate enough electricity to cover your daily usage. This involves considering factors such as sunlight hours and panel efficiency. And don't forget about your battery bank capacity; this will determine how much energy you can store for those cloudy days when the sun decides to take a break.
Choosing the Right Solar Charge Controller
Now that you have a clear understanding of your RV's solar needs, it's time to pick the perfect charge controller for the job. If you're working with a smaller setup and aiming to keep costs in check, the trusty PWM charge controller may be your best bet.
But for those of you with bigger dreams and energy-hungry devices, the MPPT charge controller shines. Its ability to convert higher voltage solar panel outputs into usable power for your batteries makes it a top contender for larger systems.
Sizing the Charge Controller for Your RV Solar System
Let's size it up! For a PWM charge controller, start by calculating your panel array current. Divide your total daily energy consumption by the average daily sunlight hours, and you'll get an estimate of the current needed. With this number in hand, you can find a charge controller with a matching current rating.
Now, if you've set your sights on the MPPT charge controller, there's an extra step. Since the MPPT controller operates at a higher voltage, you'll need to account for that when calculating the maximum current and finding a suitable charge controller rating.
Professional Installation Tips
Alright, adventurers, we're getting closer to embracing the solar-powered life! But hold your horses; there are still some key installation tips to consider to ensure a smooth and efficient solar journey.
First and foremost, invest in high-quality solar cables and connectors. Trust us; skimping on these essentials can lead to energy losses and frustration down the road. Properly mount and position your solar panels on the RV's roof to optimize sunlight absorption and minimize shading.
When connecting the charge controller to your battery bank, follow the manufacturer's instructions diligently. Don't let excitement get the better of you – one wrong connection can lead to a world of trouble for your batteries and the entire solar system.
Addressing Common FAQs and Concerns
As with any new technology, questions and concerns abound. One common worry is how to handle overcharging and undercharging issues. Fear not! The solar charge controller acts as your vigilant watchdog, preventing such mishaps and keeping your batteries in top-notch condition.
Now, some of you go-getters might be wondering, "Can I use multiple charge controllers in parallel to increase the system's capacity?" While it's theoretically possible, the real-world results might not be as promising. Coordinating multiple controllers can be a complex task, and it's usually more efficient to opt for a larger, single controller that suits your needs.
And for those worried about the solar panel output exceeding the charge controller capacity, don't fret. Quality charge controllers come with safety features to prevent overload and ensure smooth operation.
Maintaining and Monitoring Your RV Solar System
Congratulations! Your RV is now a solar-powered haven. But to keep it that way, regular maintenance and monitoring are essential. Inspect and clean your solar panels periodically to keep them at peak performance. Consider investing in a solar monitoring system to keep a close eye on your energy production and battery levels.
Conclusion
Fellow adventurers, you've embarked on a journey to harness the power of the sun for your RV escapades. Armed with the knowledge of how to size a solar charge controller, you're one step closer to a greener and more sustainable future on the open road.
Remember, each RV is unique, so take the time to calculate your energy needs and choose the charge controller that fits like a glove. And with proper installation, monitoring, and maintenance, you'll be soaking up the sun and cruising through nature for years to come.
So, here's to the sun, the stars, and the joy of solar-powered adventures – happy travels!


0 Kommentare