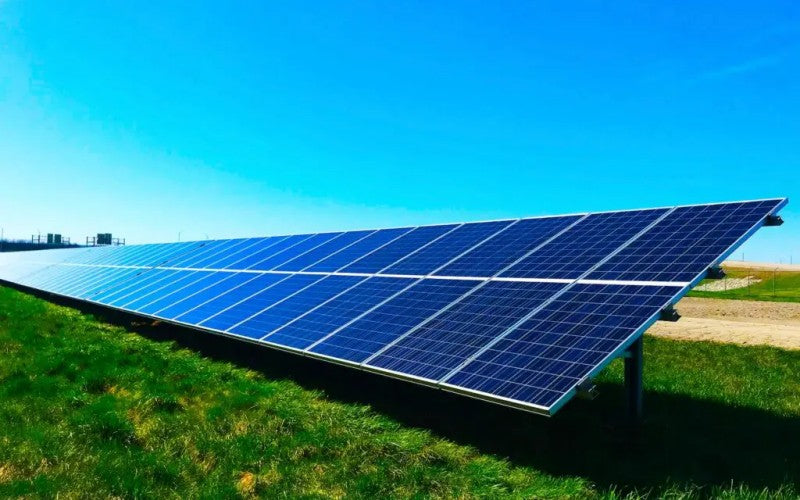
As the popularity of solar energy continues to grow, many individuals are exploring the possibility of harnessing the power of the sun through solar panels. One common question that arises is whether it is possible to connect solar panels directly to a battery without any additional components. In this article, we will delve into the implications of connecting solar panels directly to a battery, the role of a charge controller in the setup, and how to properly connect a charge controller to a battery and solar panel system.
What Happens if You Connect Solar Panels Directly to a Battery?
Connecting solar panels directly to a battery without any form of regulation or control can have several detrimental effects. Firstly, without a charge controller, the battery can become overcharged, leading to potential damage or even failure. Solar panels produce a variable amount of voltage and current depending on the sunlight conditions, and this fluctuation can cause the battery to receive an excessive charge, resulting in reduced battery life and performance.
Secondly, solar panels may not always produce a steady voltage or current output. Variations in sunlight intensity, shading, or other environmental factors can cause the voltage and current to fluctuate. Without a charge controller, these fluctuations can be directly transmitted to the battery, causing instability and potentially harming the battery's overall lifespan.
Why a Charge Controller is Needed to Connect Batteries to Solar Panels
A charge controller acts as a vital intermediary component between solar panels and batteries. Its primary function is to regulate the amount of charge that flows from the solar panels to the battery, ensuring safe and efficient operation. Here are some key reasons why a charge controller is necessary:
1. Overcharge protection: A charge controller prevents the battery from being overcharged by continuously monitoring the battery's state of charge. When the battery reaches its optimal charge level, the charge controller reduces or stops the flow of energy from the solar panels, protecting the battery from potential damage.
2. Battery lifespan optimization: By preventing overcharging, a charge controller helps extend the lifespan of the battery. Overcharging can lead to the breakdown of the battery's internal components and reduce its overall capacity. With a charge controller in place, the battery is kept within its recommended charge range, ensuring long-term durability and performance.
3. Load control: Some charge controllers provide the additional functionality of regulating the power flow to connected loads. This allows for more efficient energy usage, preventing excessive drain on the battery and ensuring a stable power supply to connected devices or appliances.
How to Connect a Charge Controller to a Battery and Solar Panel
Properly connecting a charge controller to a battery and solar panel system is essential to ensure its effective operation. Here is a step-by-step guide:
1. Gather the necessary equipment: You will need a charge controller suitable for your solar panel and battery setup, appropriate cables and connectors, and basic tools like screwdrivers and wire cutters.
2. Disconnect the battery: Before starting any connections, disconnect the battery from the solar panel system to avoid any electrical shocks or accidents.
3. Identify the positive and negative terminals: On both the battery and the charge controller, identify the positive (+) and negative (-) terminals. Ensure you are aware of the correct polarity to avoid damaging the components.
4. Connect the solar panels to the charge controller: Connect the positive wire from the solar panel(s) to the charge controller's positive terminal and the negative wire to the negative terminal. Follow the manufacturer's instructions for specific connections.
5. Connect the charge controller to the battery: Connect the positive wire from the charge controller to the positive terminal of the battery and the negative wire to the negative terminal. Double-check the connections to ensure they are secure and properly tightened.
6. Reconnect the battery: Once all connections are made and verified, reconnect the battery to the solar panel system.
7. Test the system: Turn on the solar panel system and observe the charge controller's indicators to ensure proper functionality. Monitor the battery's charge level and ensure it remains within the recommended range.
Conclusion
While it may be tempting to connect solar panels directly to a battery without a charge controller, doing so can lead to detrimental effects on the battery's performance and lifespan. A charge controller serves as a crucial component in regulating the flow of energy from solar panels to the battery, protecting it from overcharging and ensuring long-term durability. By following the proper steps to connect a charge controller to a battery and solar panel system, individuals can enjoy the benefits of solar energy while maintaining the health and efficiency of their battery-powered devices.

0 Kommentare